
As a Realtor in Hollister California, I know there are two things that sell houses fast and get you the most bang for your buck... KITCHENS and BATHROOMS!
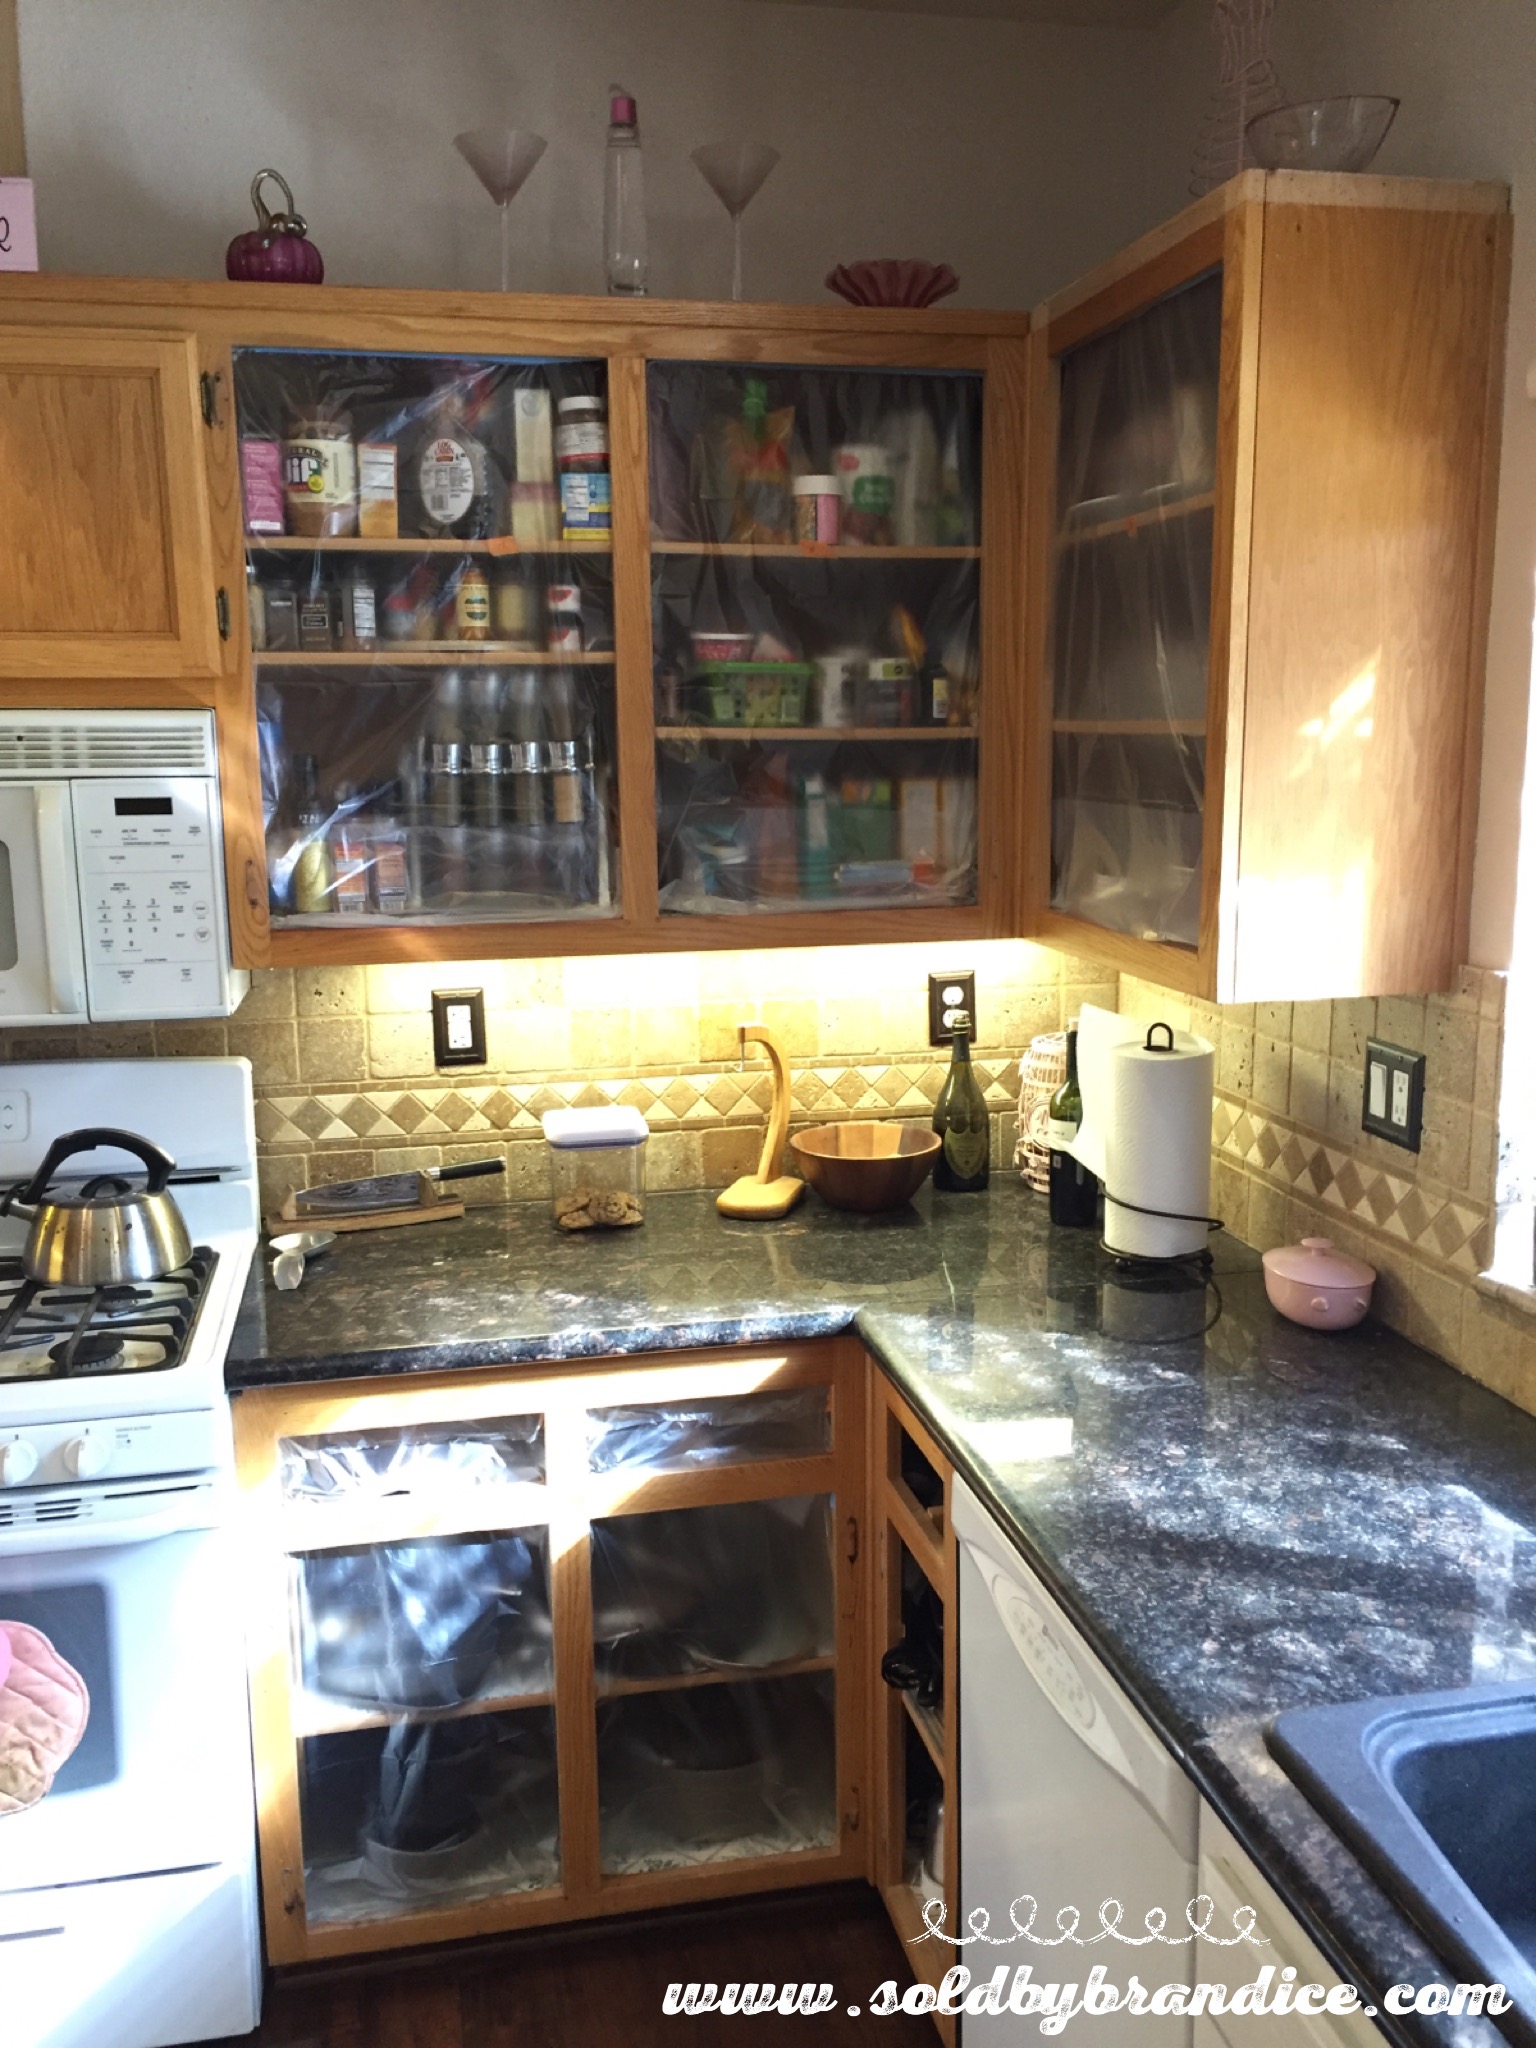
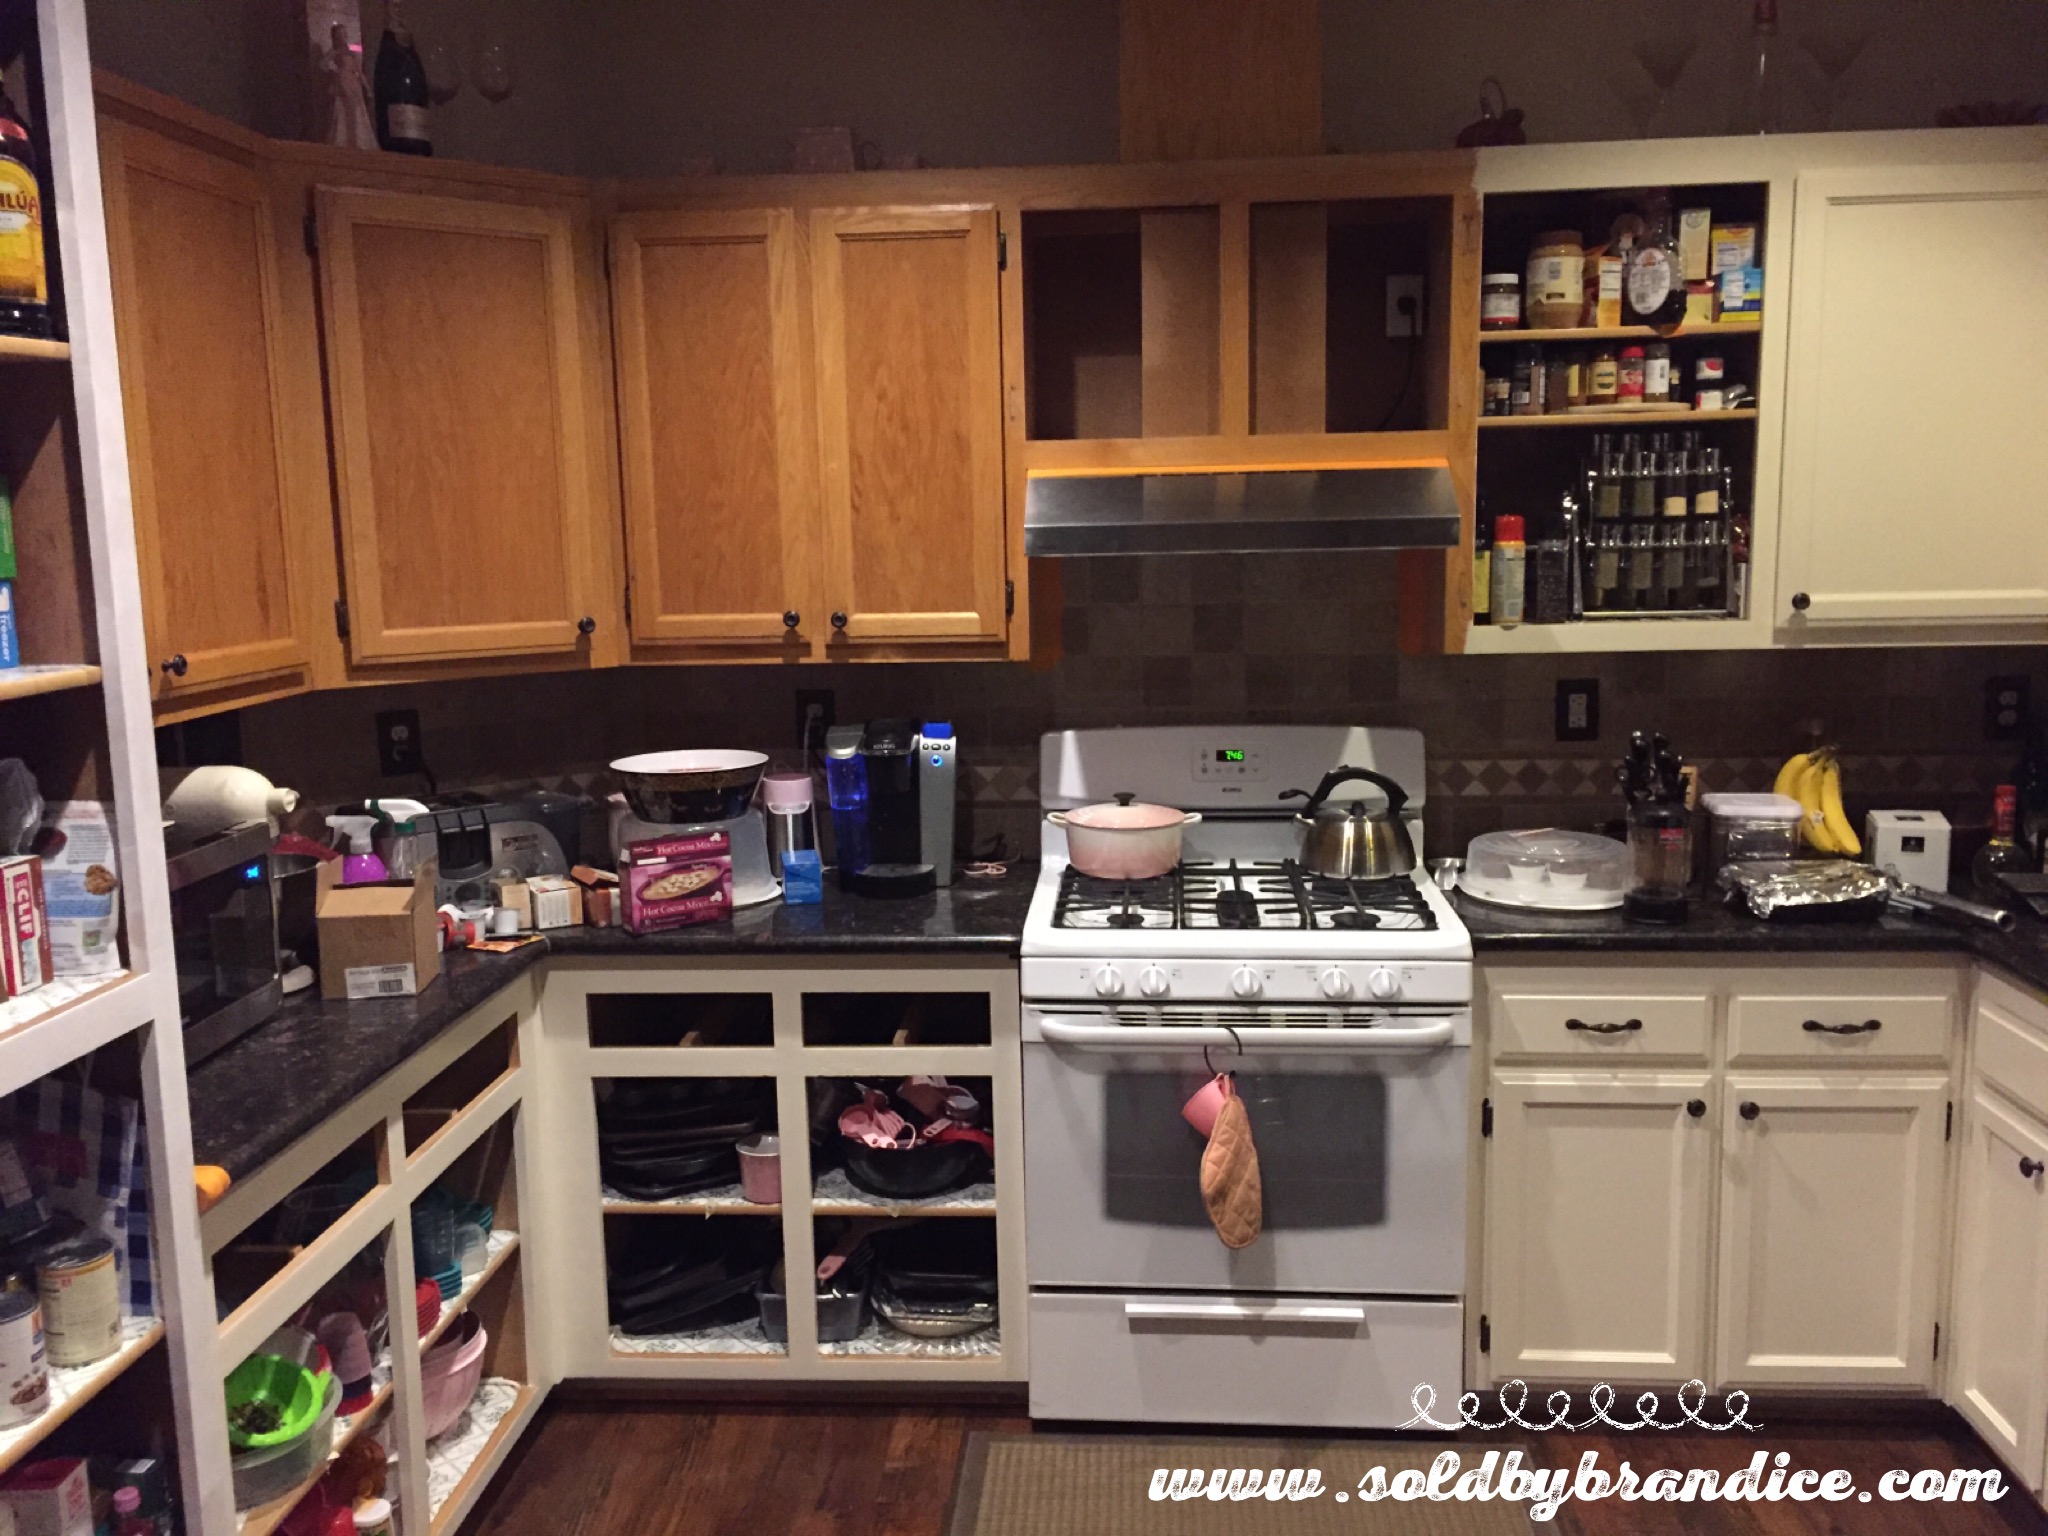
Updating your tired old cabinets with paint can make a huge impact on the beauty of your home and increase your homes value significantly. My husband and I recently tackled our kitchen cabinets (yes, that is my kitchen in the picture!) and I wanted to share an easy to follow guide based on what I've learned.
Updating your tired old cabinets with paint can make a huge impact on the beauty of your home and increase your homes value significantly. My husband and I recently tackled our kitchen cabinets (yes, that is my kitchen in the picture!) and I wanted to share an easy to follow guide based on what I've learned.
Painting your cabinets requires 3 steps -
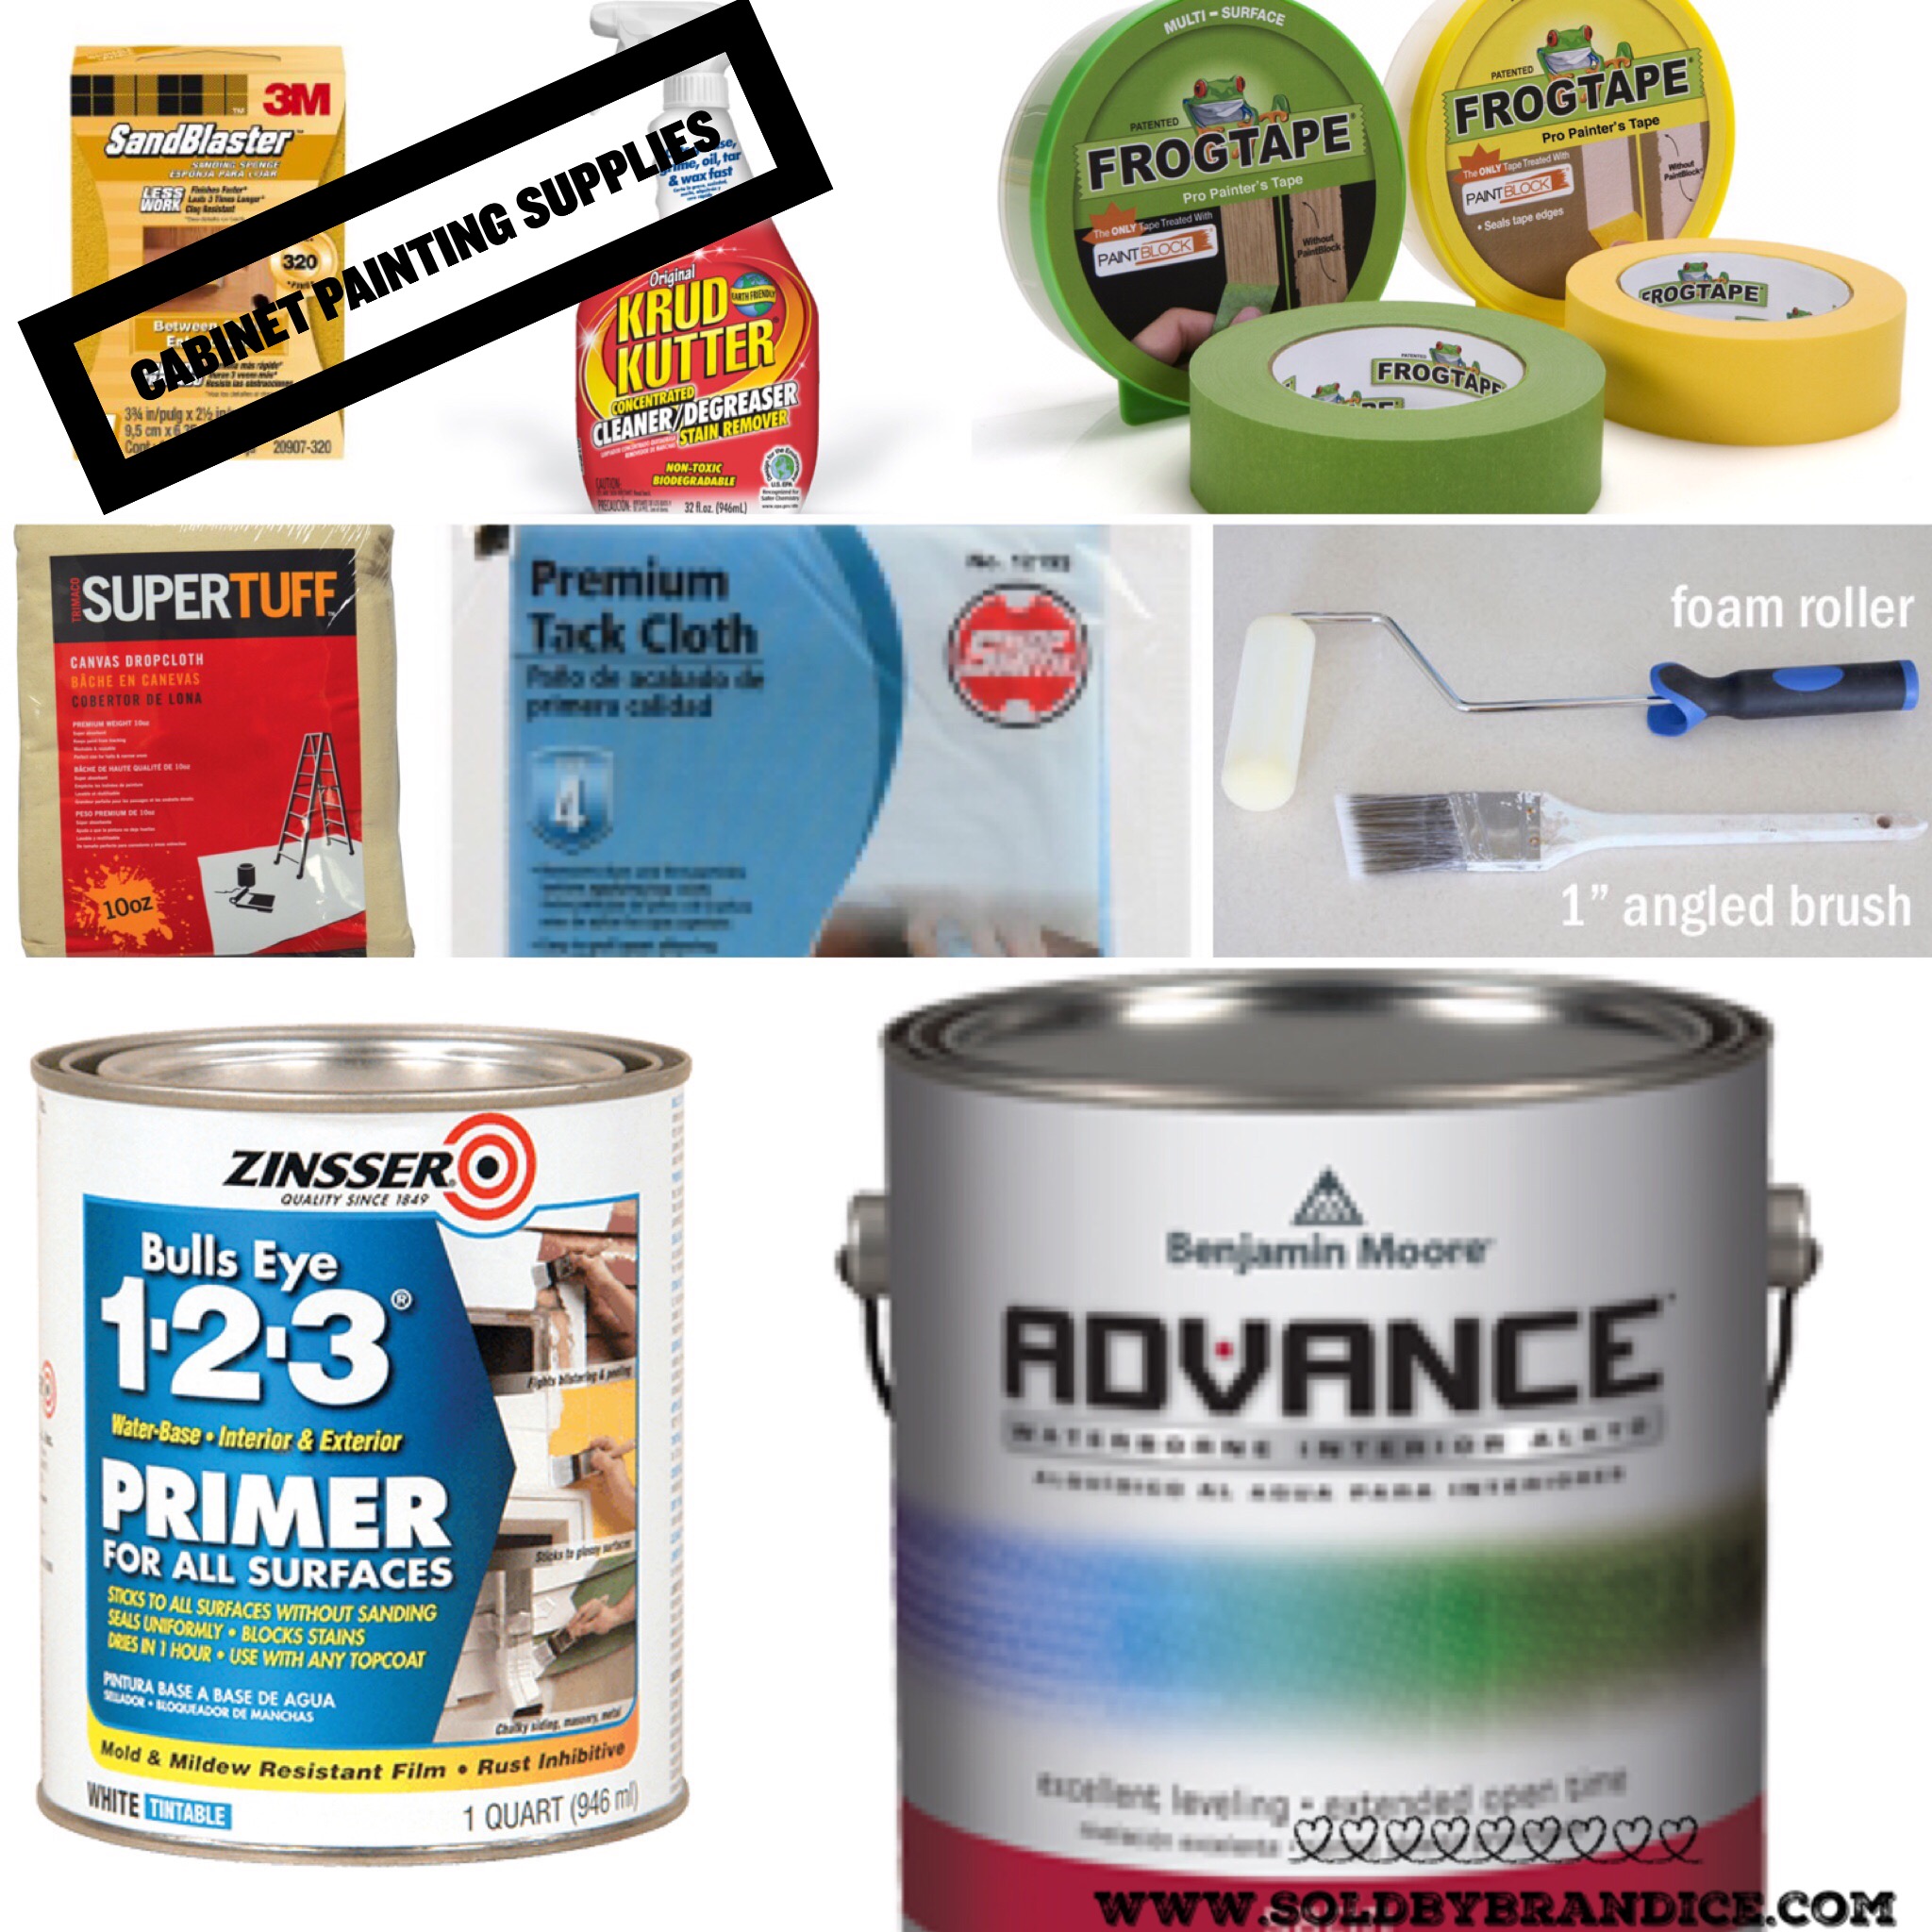
... And you'll need some supplies to get started -
1) Clean and prep your cabinets for paint
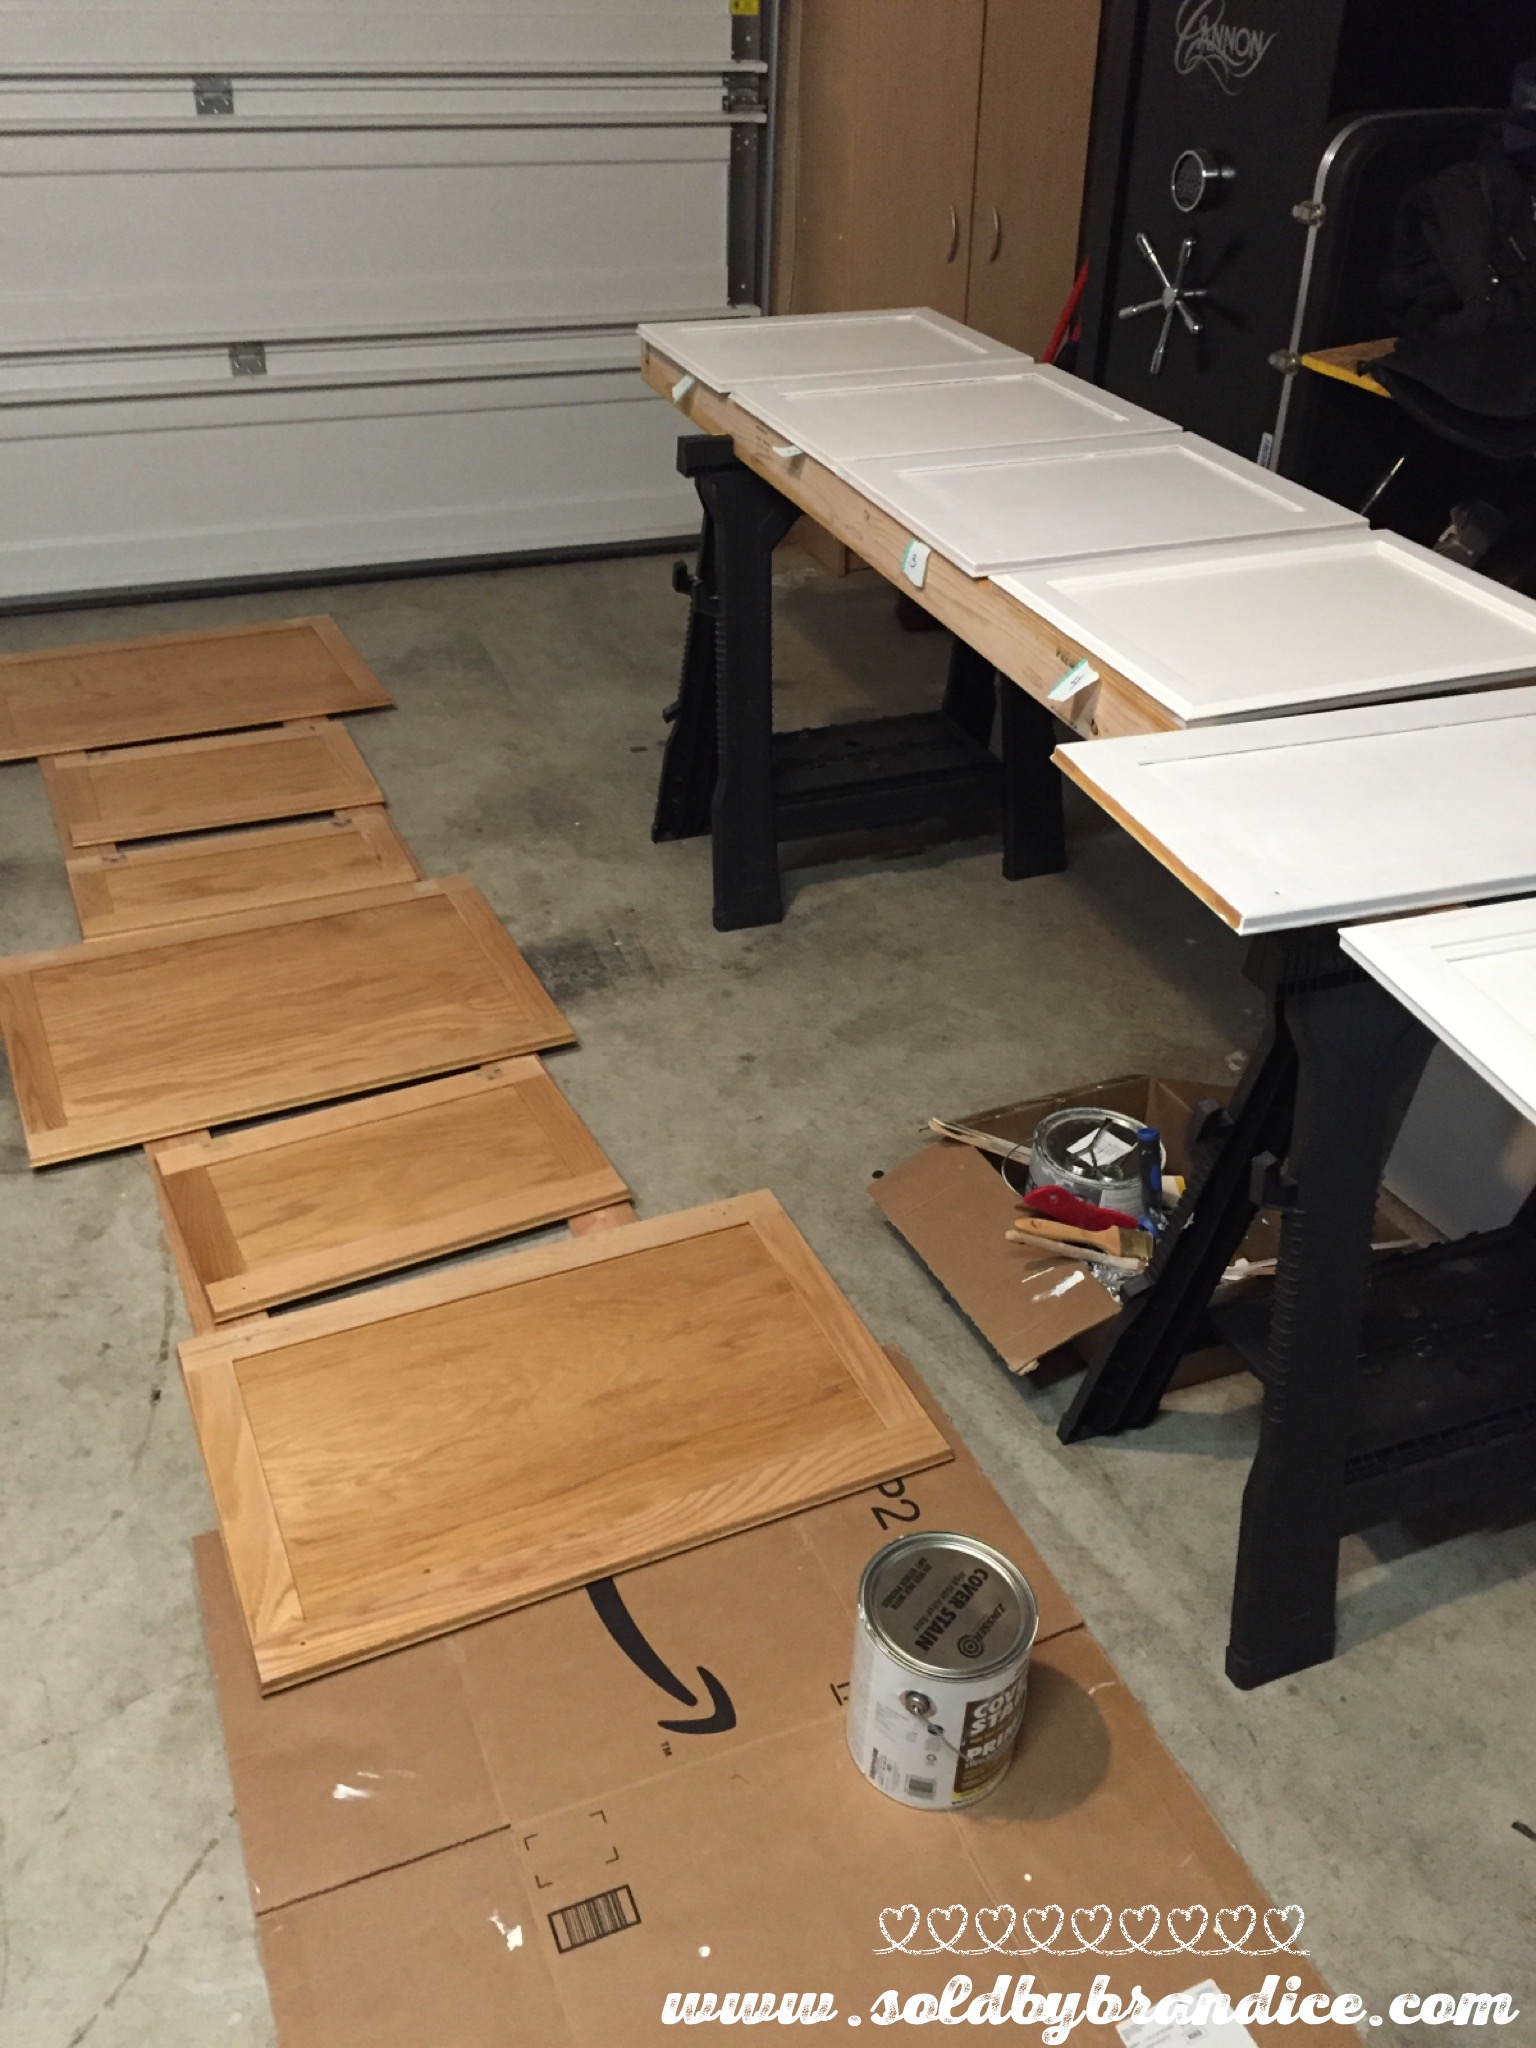
One of the most important parts of painting your cabinets is properly preparing them. First, remove the doors and hardware. I found that doing this in sections made it more manageable. If you number the doors to the corresponding cabinets ahead of time you'll save yourself a headache later. Clean the cabinets and doors using Krud Kutter (wear gloves)... This stuff is amazing and made the cleaning process easy!
Sanding the door and cabinet surfaces creates a rough surface for the primer to adhere to. Use the tack cloth to remove any residual dust from sanding.
2) Prime and Paint!
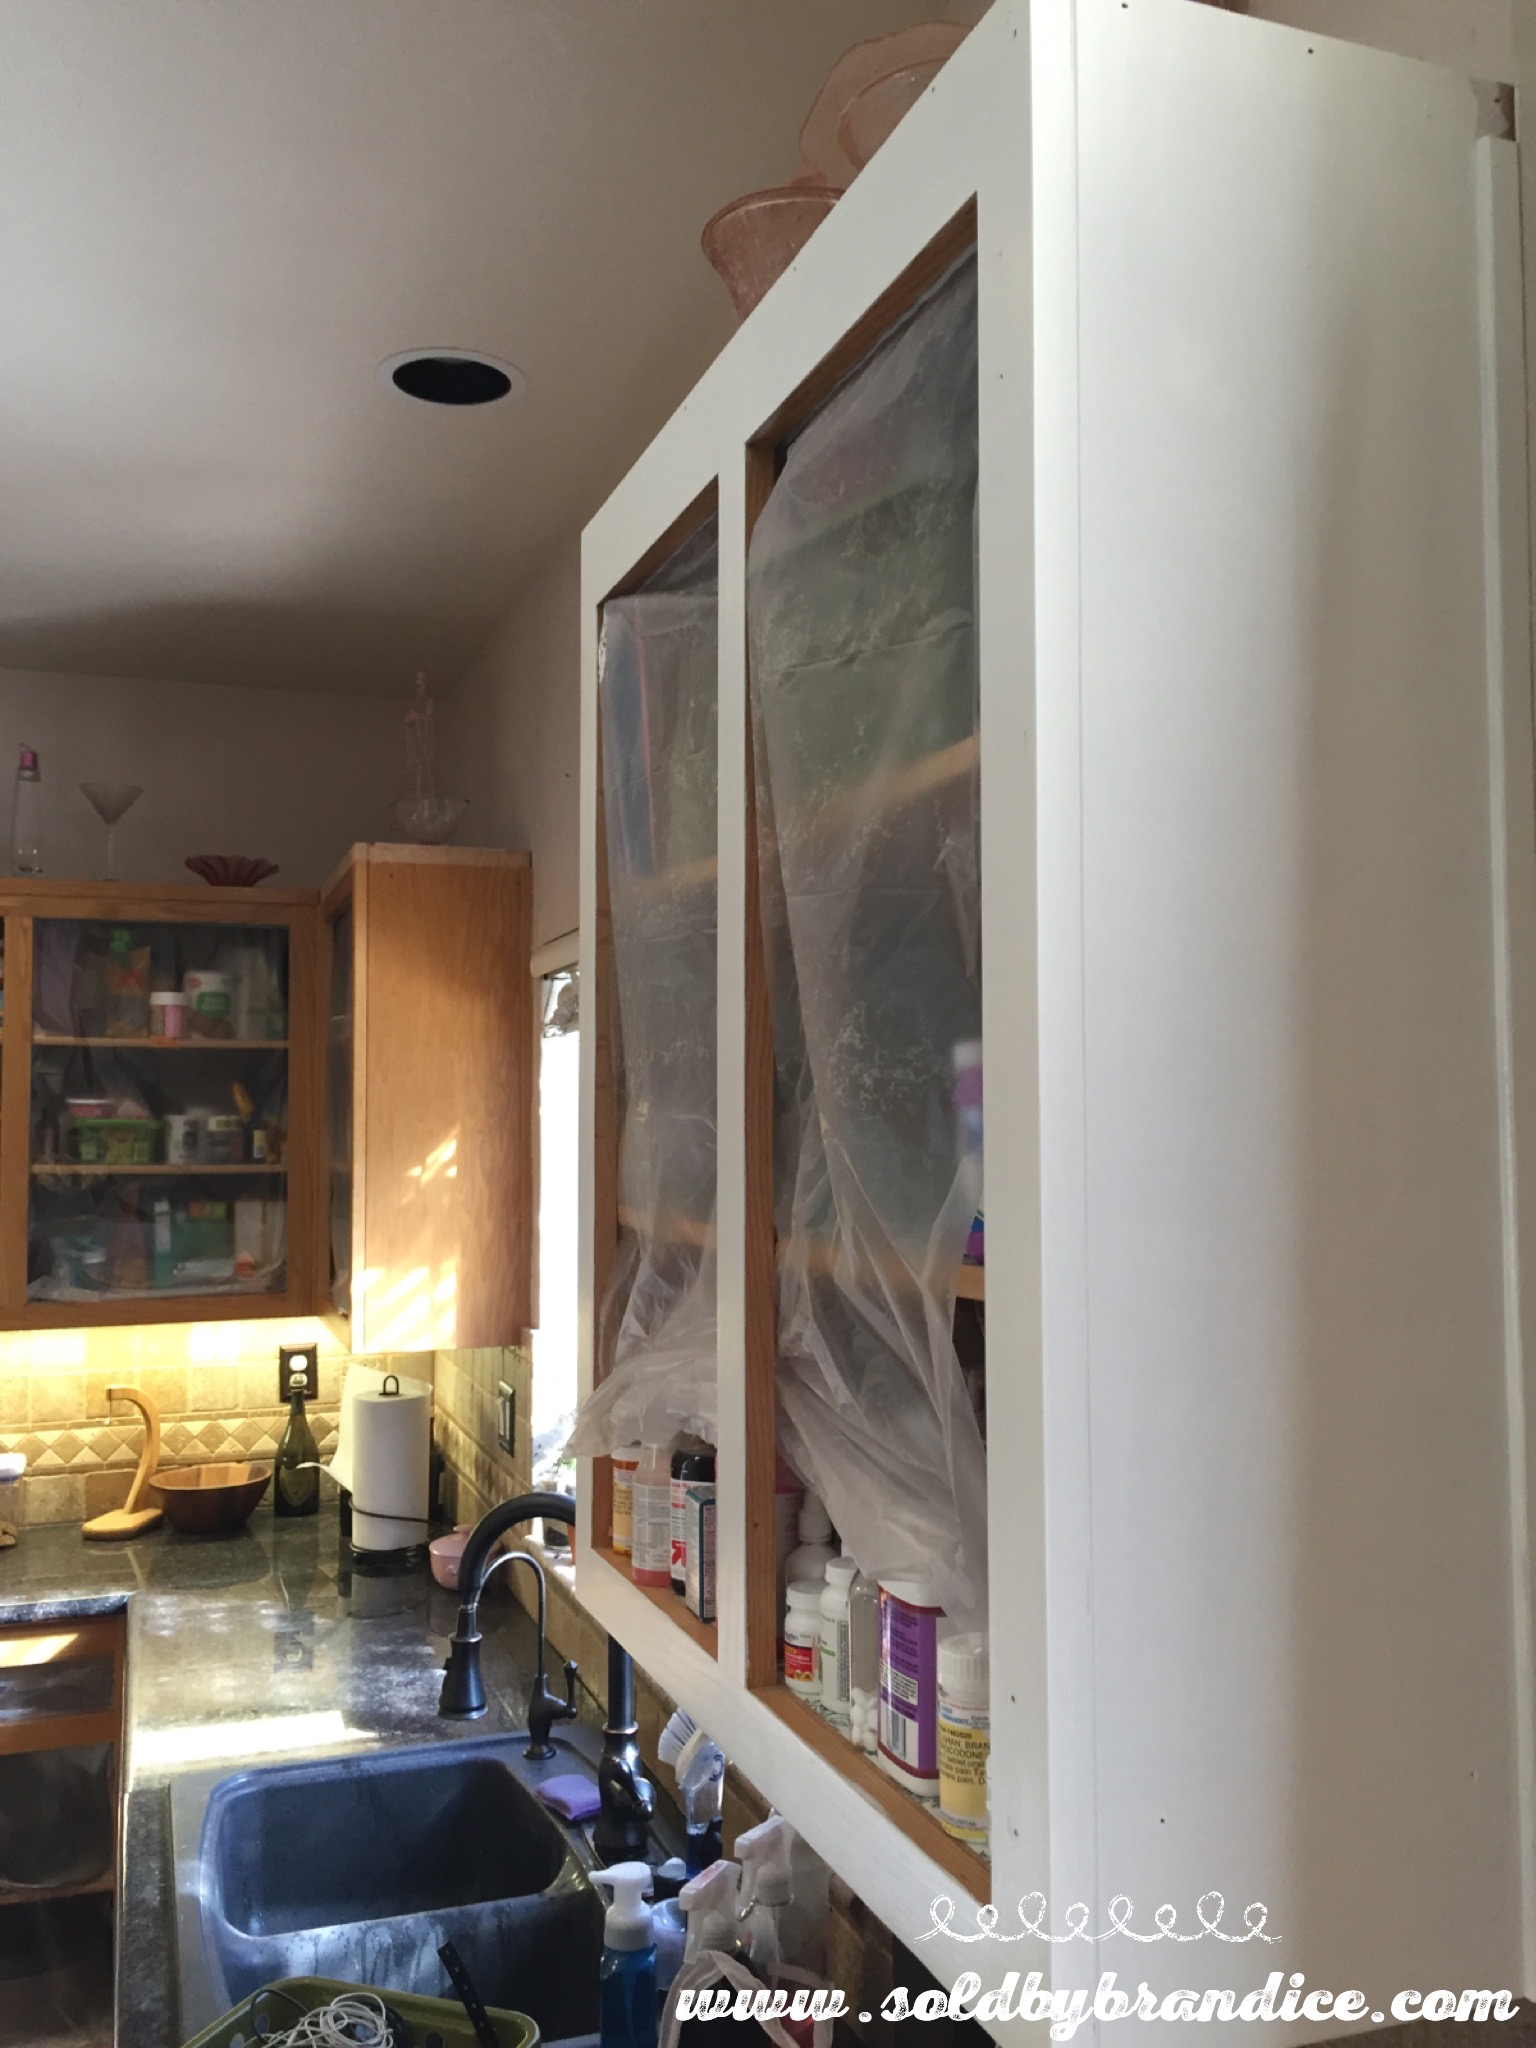
Start by priming the cabinets and doors using a stain blocking primer. I found that Zinsser Bullseye 1-2-3 was the best. Easy application and great coverage. I did two coats of primer using the 4-inch foam rollers and a high quality paint brush for the trim/detail areas. The foam roller is the key to getting a professional quality finish with no streaks.
After much research, I chose Benjamin Moore Advance paint for cabinets. This paint is absolutely amazing! It goes on smooth and is self-leveling. I would highly recommend this paint.
Begin by painting the doors and cabinets with a fresh foam roller and the trim brush. Be sure to catch any drips before they dry. You should allow your first coat to dry at least 24 hours and then sand over everything with the high grit 320 sanding sponge. Use the tack cloth to wipe down the surfaces after sanding. Apply a second coat in the same manner. For me, two coats was enough but depending on the state of your cabinets you may need a third. It's important to allow the paint to dry fully in between each coat.
3) Complete finish work and reinstall doors.
As you can see my cabinets were pretty standard so my husband decided to install crown molding around top of the cabinets and trim to the bottom to give them a more custom look.

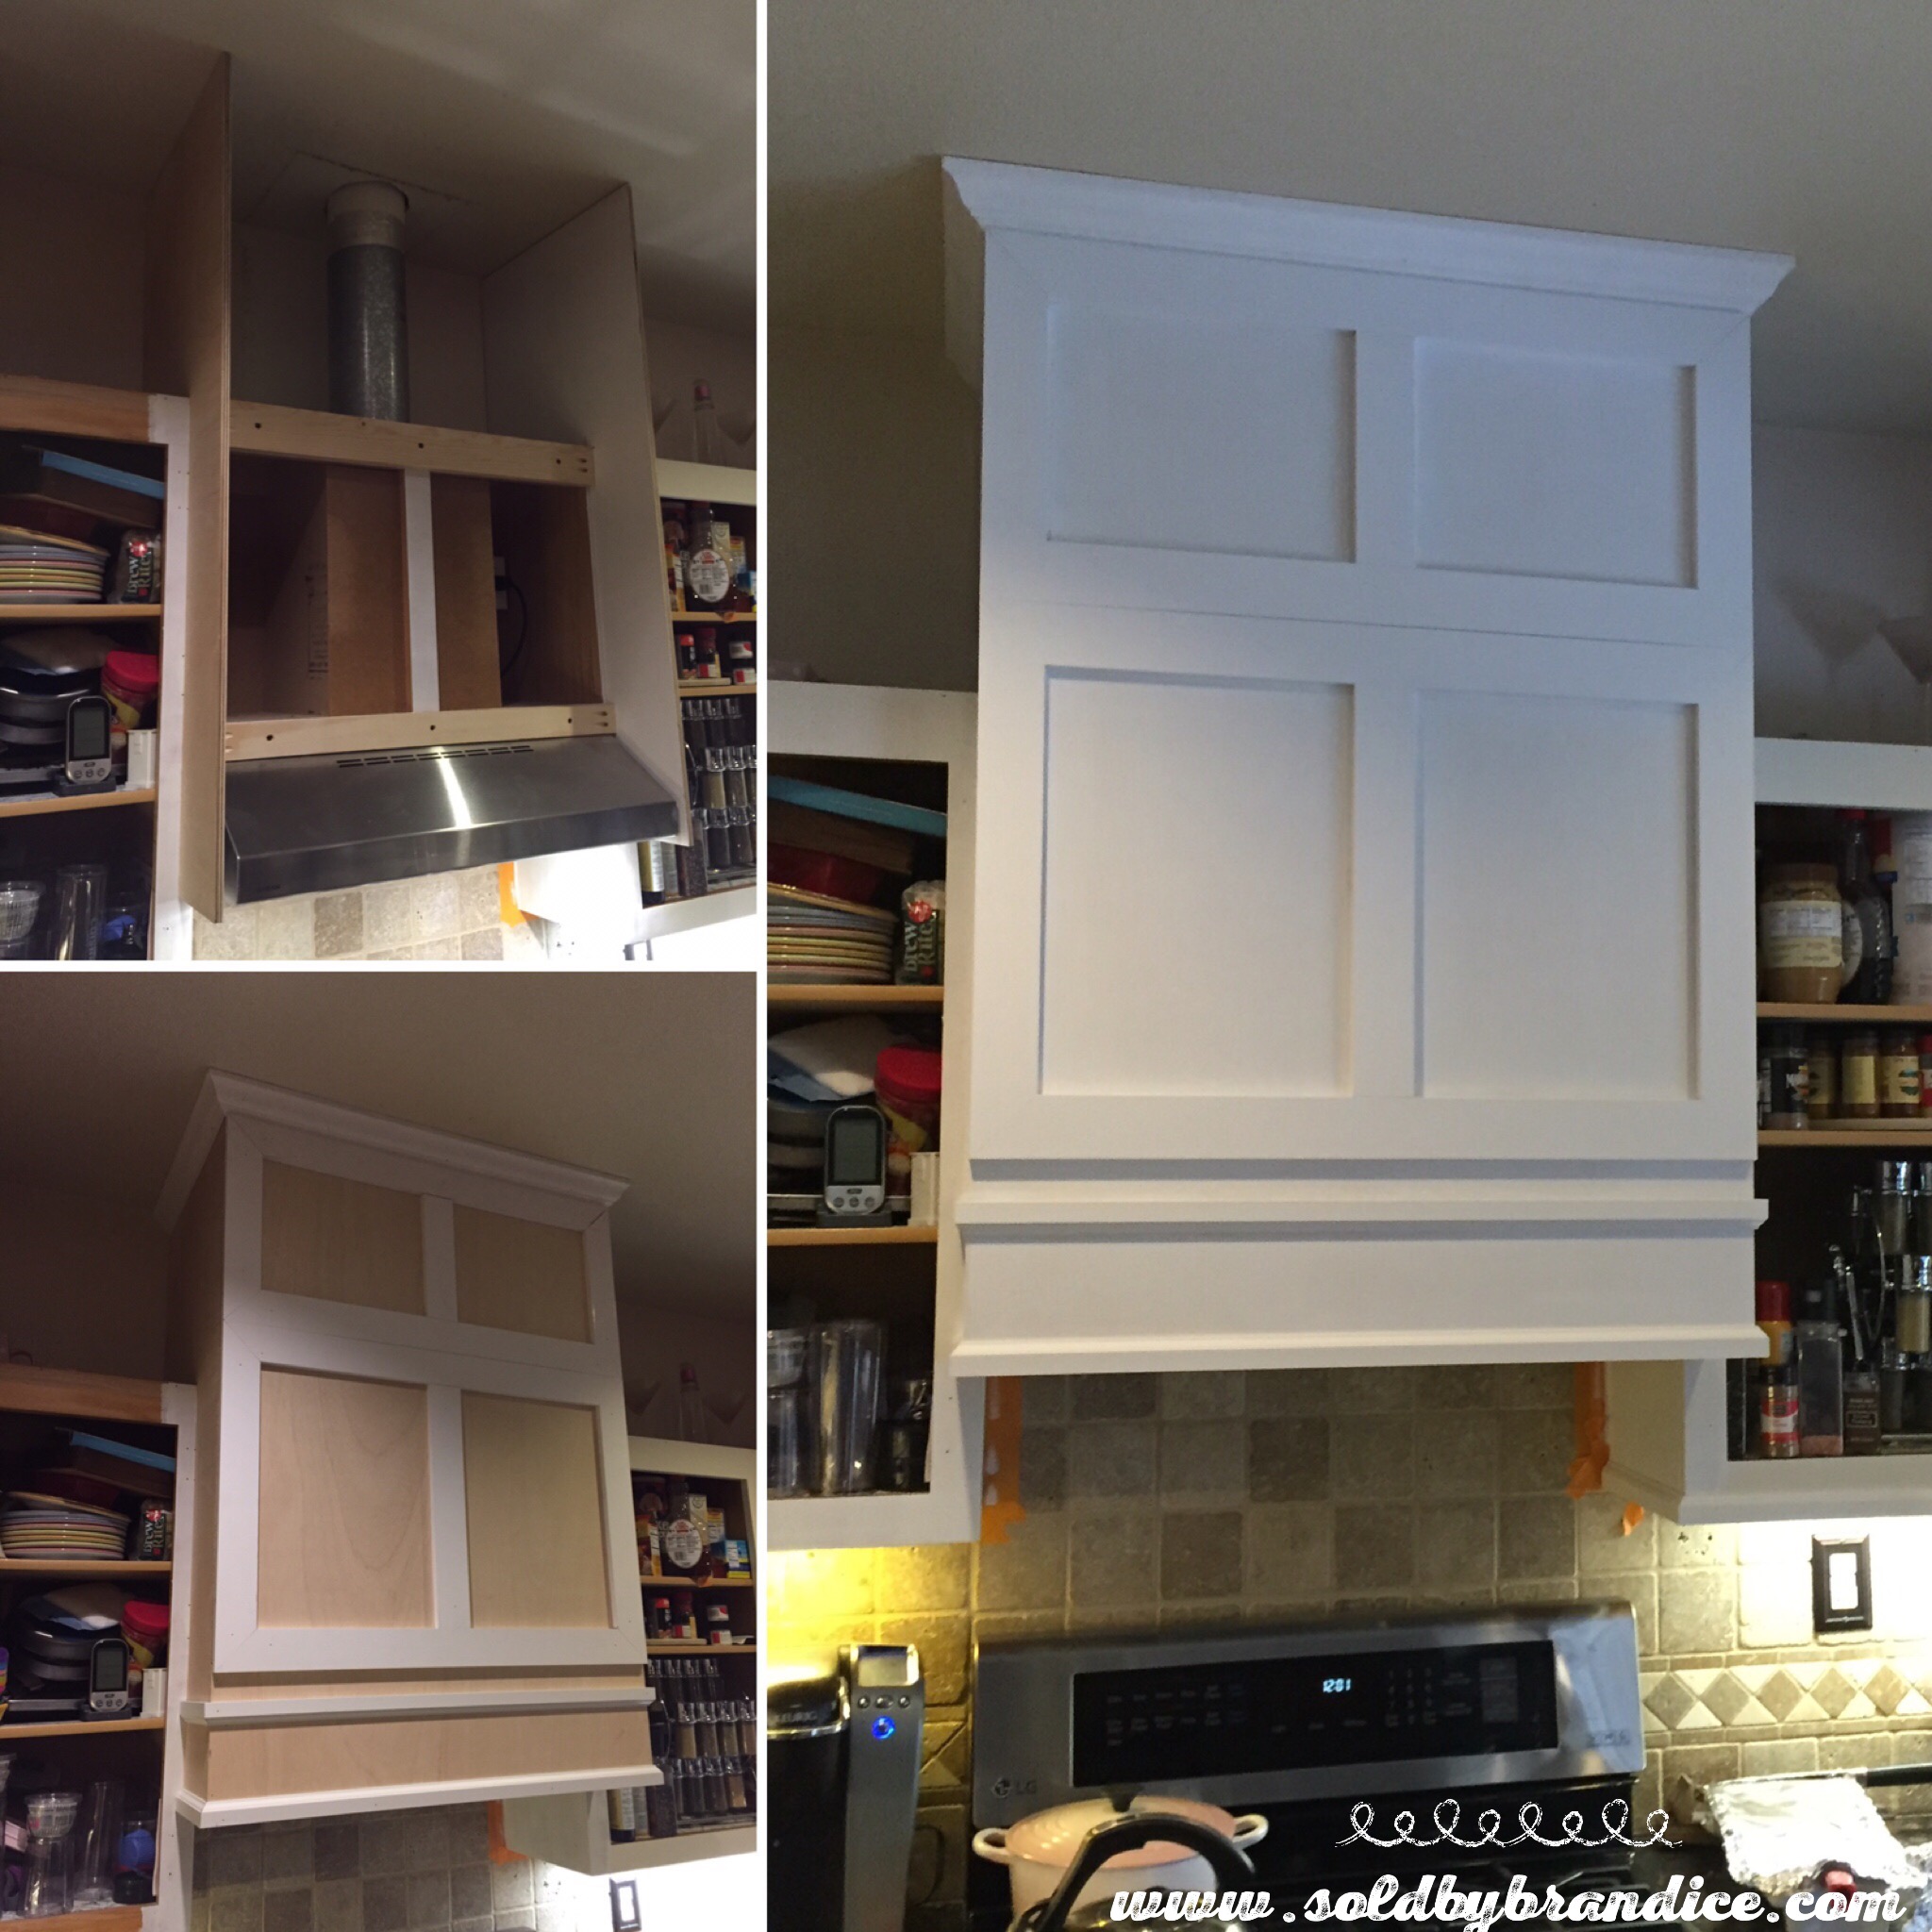
We also decided to remove the old microwave over the range and replace it with an updated vent hood. My husband then fabricated a custom vent hood cover which really gave the kitchen a nice focal point.
We reinstalled the doors and completed a few finishing touch ups. The final product...

The entire project took about a month to complete, dedicating each weekend to sanding and painting or painting and sanding. Yes, it was time consuming but in the end it really paid off and we can now enjoy our beautiful kitchen. The entire cost to makeover the cabinets came in at just under $500!
The before and after...

The before and after...
Check out my other blogs for adding more value to your home through DIY projects

this kitchen is soooo Gorgeous! and It is so modern and clean looking. I’m really impressed.
ReplyDeletePoulin Design Center
Kitchen Cabinet Santa Fe
Kitchen Remodel Albuquerque
I LOVE your kitchen! It is so modern and stunning! I pinned it for inspiration!
ReplyDeleteNorth East Factory Direct
Cleveland Kitchen Cabinets
Modern Furniture Cleveland
This kitchen is absolutely breathtaking! I love everything about it
ReplyDeleteFurniture Store Parker
Kitchen Cabinets Parker
Denver Dining Room Furniture